Growing and harvesting madder
by Elaine on Aug.07, 2013, under Blog Posts
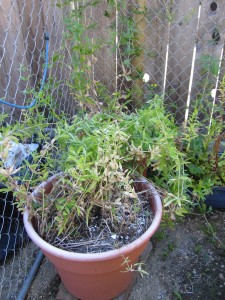
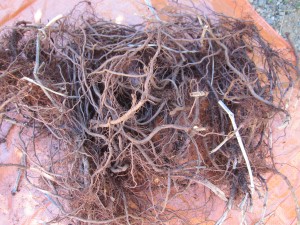
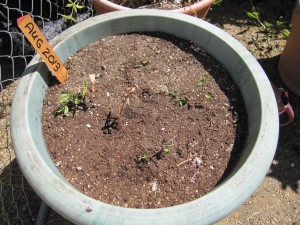
It is August and that time of the year to harvest the madder plants to dye a rich orange/red. I use three large tubs and harvest from one tub each summer. This allows the plants to develop large enough roots and provide enough dye on a 3 year cycle. The roots should be about a pencil diameter size for harvesting. Madder plants do not like to be in pots, but I want to take them with me should I decide to move and this seemed like a good way to do it.
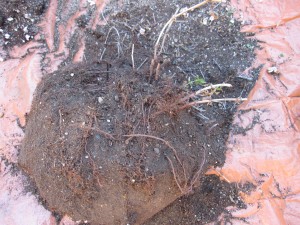
Gently remove the soil that surrounds the roots and save a few plants to replace those taken from the current pot. The dirt comes off easily.
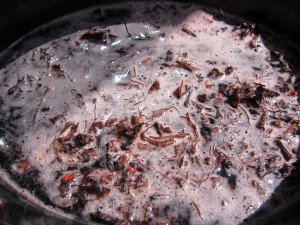
After I remove the soil, I cut the roots into small pieces, about 1/8-1/4″ long. I rinse the roots with water to remove any remaining soil and then put the roots in a pot with just enough water to cover them well and slowly raise the temperature to about 180 degrees. Raising the temperature too high will produce a brown colour, not the rich orange/red I am wanting. After an hour or so, I turn the heat off and allow the roots to remain soaking. The next day I drain the dye liquor off and save it. I repeat this process for a total of three times. Saving the dye liquor for dyeing.
Madder likes to have hard water for dyeing. If your water is too soft, you can add a few calcium tablets to the dye bath. I also use ground egg shells on the soil in the pots. The pots do not have to be watered often…a good soaking once a week is lots. I live on Vancouver Island, BC and the winters are conducive for the madder plants to survive easily. The tops can be harvested and can be used separately for another paler shade. I have not tried this yet, but when I do, I will post my results.
You can also grind up the remaining roots in a dedicated-blender and get more dye by soaking, heating and taking the liquor off each time.
